Continuing on from the previous research over the Vectorman builds that were recently released, there were still some types of assets we hadn’t found yet, for example levels, models and animations.
So far, we’ve deciphered that most of the game is split into different file formats, such as SMALLF.DAT, which seems to mainly be Small Configuration Files (usually used for startup, configuring weapons, tracks/missions, collision and material types, and some scripting), .PSM,.PSS,.XMA seem to be textures, movies and sounds etc.
With what we’d already found, there was another format, .PIX, which seemed to store the levels etc which we still hadn’t found yet. A .PIX file can usually always be found in each build with the name DWVECPIL.PIX, which seems to reference Vectorman piLaunch (which is something can be seen from a brief look at the disassembly) and seems to suggest that this specific file may be loaded on startup, and that the format may contain some of the types of assets we’re interested in. This is because each build contains DWVECPIL.PIX, but there are always other (sometimes different) .PIX files which correlate to builds with different levels.
In this post we’ll go over how I worked through the PIX file format.
A brief check
Just like the last time, we do a quick check over what we can see in the file before doing anything at all.
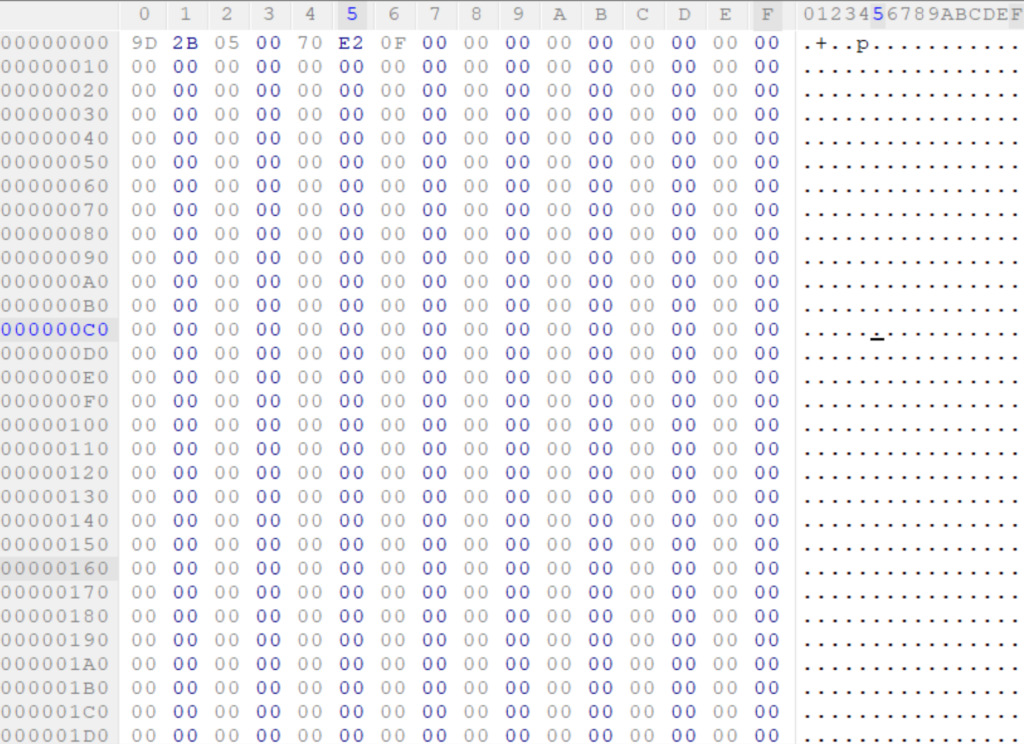
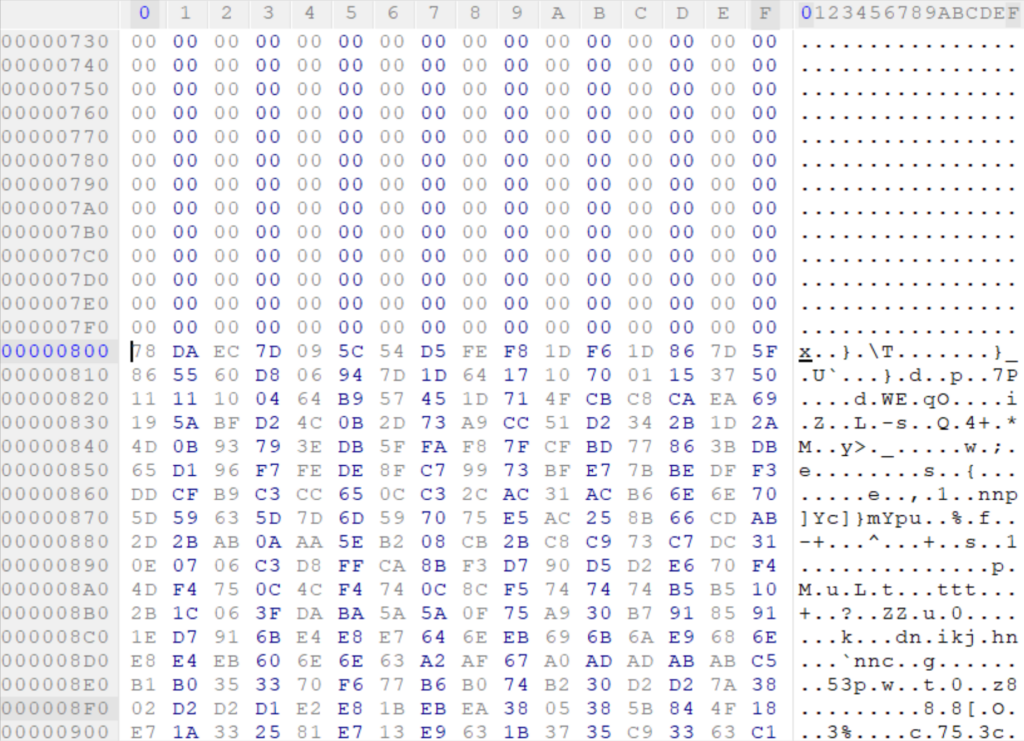
Immediately, we can tell that we have 2 32-bit integers at the beginning of this file, and a lot of zeroes. Progressing through the file we can see that a lot of data starts exactly at offset 0x800:
For a beginner, the zeroes may seem confusing, and the specific location (0x800) at which the data starts at, too. The zeroes in this case represent padding, which is specifically used so that the data can be aligned to 2K boundaries of allocated memory, which is usually used for memory optimisation purposes.
Unfortunately, at this point, it’s hard to make much sense of this data, but we should probably figure out what those 2 integers mean before we move any further so that we can build out a picture of the format.
The first integer stores 338845 (0x52B9D) and right away we have something to test: the current file is 530432 bytes in total (which is less than 338845!)..
Heading over to location 0x800+0x52B9D, we are conveniently taken to the end of the big block of data, with yet another 2 32-bit integers…. some padding.. and, some more “data”…
So since this was such a success, we should continue again and see if we correctly reach the end of the file!
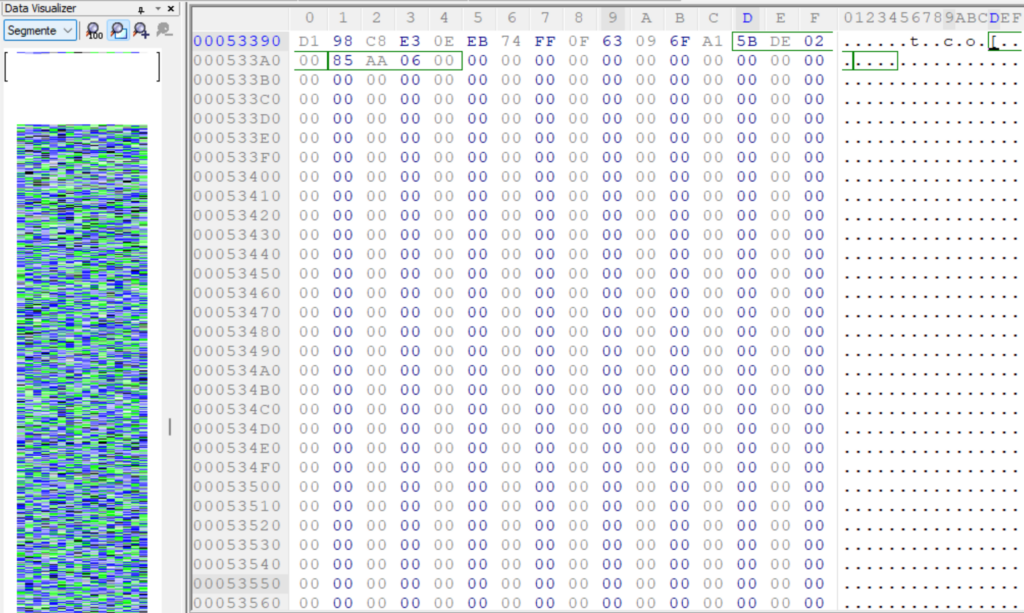
Again, wth the same logic as before, we’ll take the location where the next “data” segment starts, which in this case is now 0x53800, and add the value to it and see where it takes us!
0x53800+0x2DE5B:
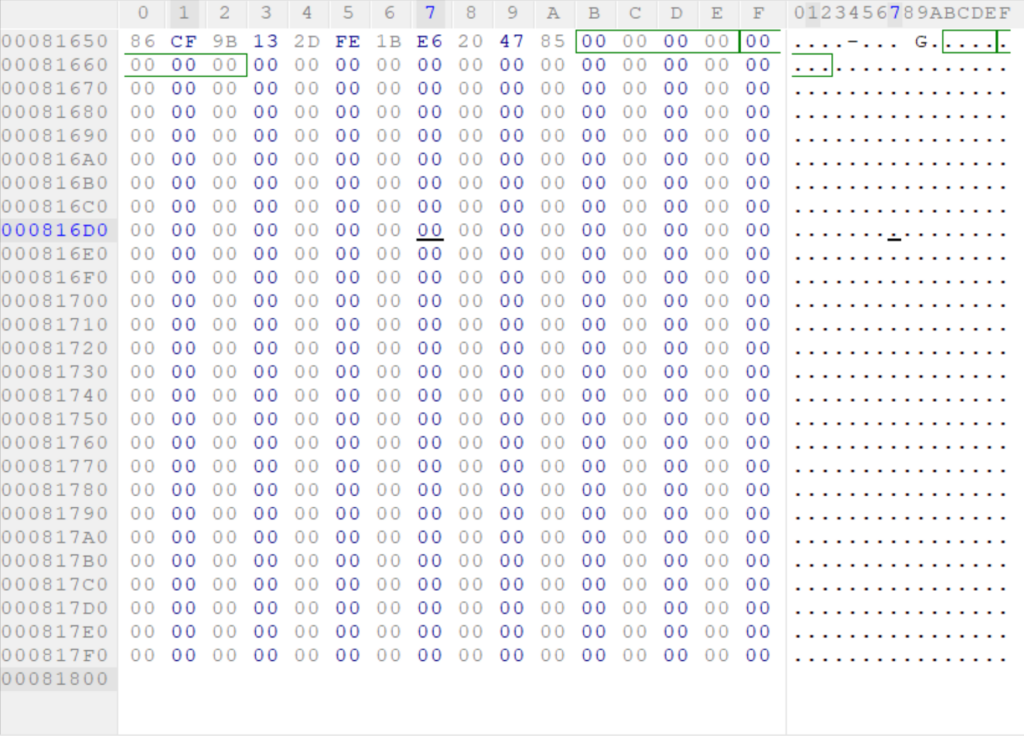
Great! Where we’d usually get those 2 integers, we now just have zeroes, right up until 0x81800, which is the next offset based on 2K boundaries and is the end of the file. This is enough to write something up to check over the rest of the data we haven’t actually investigated yet..
Identification
We’ve now essentially identified that this file represents a simple structure, like below:-
struct Entry {
    int size = 0;
    int unknown = 0;
    vector<unsigned char> data;
};
But what exactly is the data?
Each of these data segments start with the same bytes each time and this is usually a sign that we may be dealing with compressed data and in this case that’s exactly what it is. Having a lot of experience at looking at data in this way, I’m no stranger to this sort of thing and the bytes were immediately recognisable. Each data segment starts with 0x78DA and these are header bytes for zlib, specifically the 0x78 byte is the identifying byte of the compression type, and the 0xDA byte represents the type of compression, in this case the “Best” compression setting is denoted by 0xDA.
With that being said, we can now iterate over each Entry and then inflate them with zlib and take a look at what we get!
Well, with this we result in a nearly 1MB file!
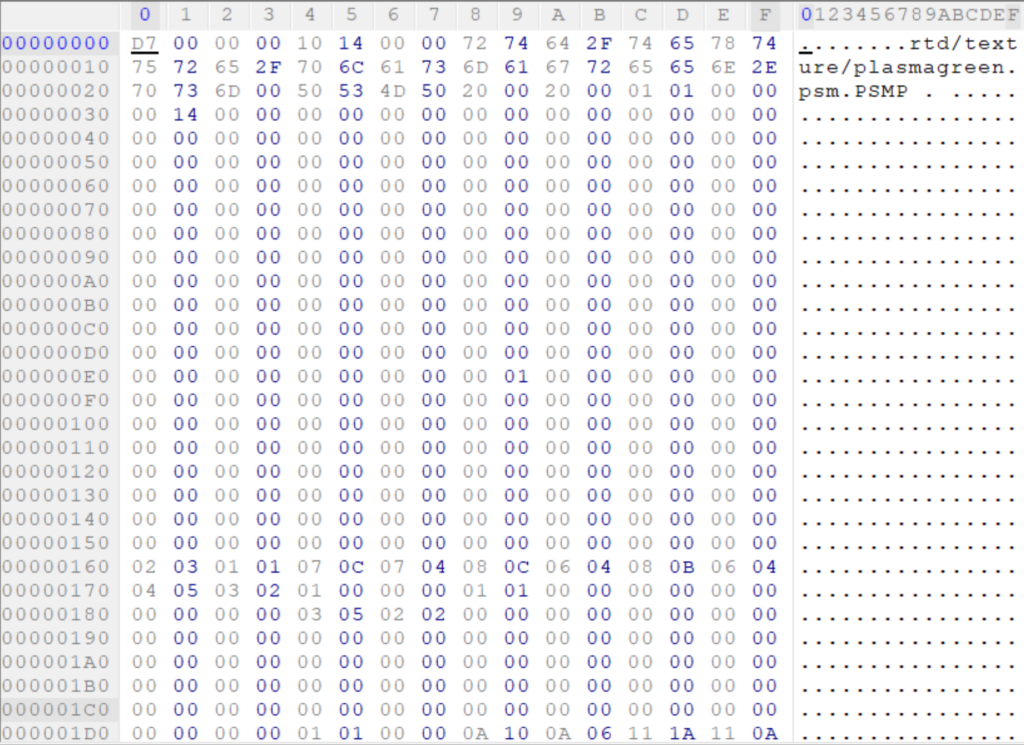
This time, we have what seems to be a collection of files, laid out in a very simplistic pattern..

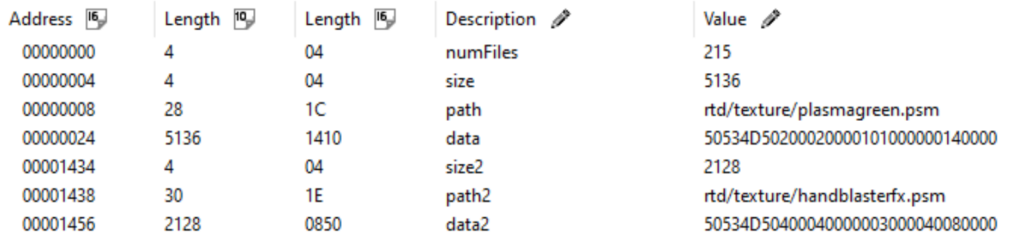
We can now express the data in the following structure:
struct FileEntry {
    int size;
    string path;
    vector<char> data;
};
struct UncompressedData {
int numberOfFiles;
vector<FileEntry> entries;
};Application
To tie all of this together, it’s pretty much a case of collecting any chunks in the PIX, decompressing the result, then reading through each of the file entries and writing them out so we can take a look at them.
        Entry entry;
        entry.compressed_size = compressed_size;
        entry.decompressed_size = decompressed_size;
        if (compressed_size > 0) {
            entry.data.resize(compressed_size);
            ifs.read((char*)entry.data.data(), compressed_size);
            entries.push_back(entry);
        }
With this we can get a much clearer picture of the assets.
The full source can be found here.